
Recording a demo is a crucial step for musicians looking to showcase their talent and make an impression. The quality of your demo can open doors—or close them—so getting it right matters. When it comes to recording, you have two main options: the comfort of home or the polished environment of a professional studio. Each choice has its benefits and challenges.
At home, you have flexibility and control, but you might lack professional-grade tools. Studios, on the other hand, offer top-notch sound quality and expert guidance, but they can be costly and time-restrictive. Choosing the right setting depends on your goals, budget, and experience. This guide will help you weigh the pros and cons of both options to make the best decision for your project.
Importance of Good Quality Recording
Before diving into the comparison, it's crucial to understand why recording quality matters. A demo is typically a musician's introduction to their potential audience and industry professionals. It should showcase your unique sound and capture the essence of your music. If the audio quality is poor, it can be off-putting to listeners and give the impression that you don't take your craft seriously.
Moreover, good recording quality allows for more detailed feedback from industry professionals who may be interested in signing or working with you. A well-recorded demo can also serve as a valuable promotional tool to get gigs or secure funding for future projects.
The Pros and Cons of Home Recording
There are several benefits to recording a demo at home. Here are some of the most significant pros and cons to consider:
Pros:
- Cost-effective: Recording at home can be significantly cheaper than booking studio time. You don't have to pay for studio equipment, engineer fees, or additional staff.
- Convenience and flexibility: With a home recording setup, you can record at any time without having to adhere to a studio's schedule. This allows for more creative freedom and experimentation.
- Comfort and familiarity: Being in your own space can help you feel more relaxed and comfortable, leading to better performances.
- Control over the final product: As the producer of your demo, you have complete control over every aspect of the recording process, from mic placement to mixing. This allows for a personalized sound that reflects your artistic vision.
Cons:
- Limited equipment and resources: Unless you have a professional-grade home recording setup, you might not have access to top-of-the-line equipment and resources. This can result in lower sound quality compared to a studio recording.
- Lack of expertise: Home recording requires technical skills such as mic placement, mixing, and mastering. Without prior experience or knowledge, the final product may not be up to industry standards.
- Background noise: Recording at home means dealing with potential background noise from appliances, pets, or outside traffic. These interruptions can affect the overall quality of the recording.
The Pros and Cons of Studio Recording
Pros:
- High-quality equipment and expertise: Studios are equipped with industry-standard recording equipment and experienced engineers who can help you achieve the best sound possible.
- Professional environment: Being in a professional studio can elevate your mindset and improve your performance, as it removes distractions and creates a focused atmosphere.
- Collaborative opportunities: Working with a recording engineer allows for collaboration and input from an outside perspective. This can enhance the final product by bringing fresh ideas to the table.
Cons:
- Costly: Studio time, equipment rental, and engineer fees can add up quickly, making it a more expensive option compared to home recording.
- Time constraints: Booking studio time means adhering to a schedule, which can be limiting and potentially rushed if you have limited time.
- Lack of creative control: Working with a recording engineer means giving up some control over the final product. While their expertise can enhance the sound, it may not align with your artistic vision.
These pros and cons highlight the different factors to consider when deciding between recording at home or in a studio.
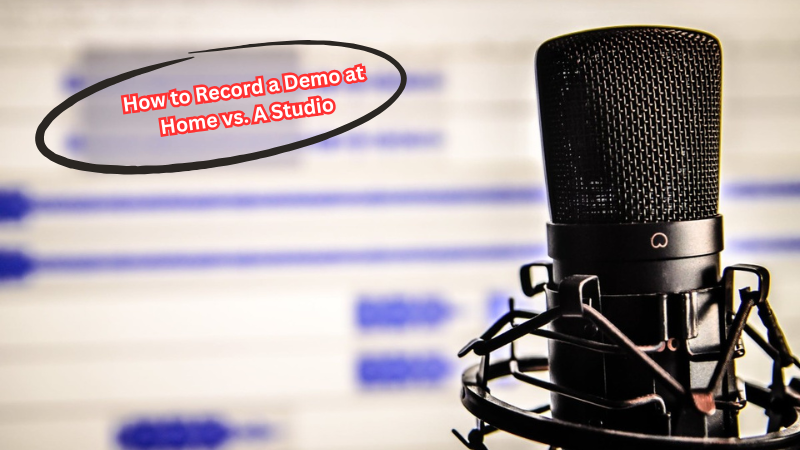
How to Record a Demo at Home vs. A Studio
Now that we've discussed the benefits and limitations of both home and studio recording, let's dive into how to actually record a demo in each setting.
Home Recording:
Choose the Right Space
Select a quiet, well-insulated room with minimal background noise, like a spare bedroom, basement, or walk-in closet, free from distractions.
Invest in Quality Equipment
Get a good microphone, audio interface, and headphones to significantly improve your recording quality.
Experiment with Mic Placement
Test different positions and distances to capture the best sound for your voice or instrument.
Record Multiple Takes
Record several versions of your performance to have options during the editing process.
Use Virtual Instruments and Plugins
Enhance your recordings with virtual instruments and plugins for effects, tone improvement, or full instrumentation.
Edit and Mix the Audio
Adjust levels, add effects, and EQ your tracks to create a balanced, cohesive sound.
Master the Final Product
Polish your demo by mastering it to ensure it sounds professional and ready to share.
Studio Recording:
- Find a suitable studio: Do some research and find a reputable studio that aligns with your budget and needs. Make sure to book enough time for recording, mixing, and mastering.
- Communicate with your engineer: Before heading into the studio, communicate with your engineer about your vision for the demo. This allows them to prepare and make suggestions based on your goals.
- Bring your own equipment: While the studio will have all the necessary equipment, it's always a good idea to bring any instruments or gear that you're comfortable with and prefer to use.
- Focus on performance: Studio recording can be intimidating, but try to relax and focus on delivering a great performance. Take advantage of the professional environment and let go of any distractions.
- Collaborate with your engineer: Don't be afraid to collaborate with your engineer during the recording process. They may have suggestions or ideas that could enhance the sound of your demo.
- Edit and mix the audio: Similar to home recording, the editing and mixing process is crucial in creating a polished final product. Work with your engineer to adjust levels, add effects, and fine-tune the sound.
- Master the final product: Once the audio has been edited and mixed, it's time to master the demo. This involves making final adjustments to ensure a cohesive and professional-sounding product.
These steps may vary depending on the type of demo you're recording, but they provide a general overview of the process in both home and studio settings.
Tips for Achieving the Best Sound Quality
Whether you're recording at home or in a professional studio, achieving top-notch sound quality requires preparation and attention to detail. If you’re working from home, start by addressing your environment. Invest in basic acoustic treatment like foam panels to reduce echoes and background noise. Place your microphone in different spots to find the sweet spot in your room, avoiding corners or reflective surfaces. Before you record, fine-tune your levels to prevent distortion and capture a clean sound.
For studio sessions, preparation is key. Know your material inside and out to save time and perform confidently. Communicate your vision clearly to the engineers—they’re there to help bring your ideas to life. Don’t hesitate to request a test recording; it’s a great way to ensure everything sounds just the way you want before committing.
Whatever your choice, remember that sound quality relies on your effort to create the best setup and your willingness to refine the process so your demo shines.
Does Cost Play a Factor?
One significant factor to consider when deciding between home and studio recording is cost. Home recording allows for more control over expenses, as you can choose which equipment to invest in and record at your own pace. Studio recording, on the other hand, often involves hourly or daily rates that can add up quickly. However, studios offer access to professional-grade equipment and experienced engineers, which can greatly enhance the quality of your demo.
If budget is a concern, it's important to research different options for both home and studio recording to find a balance between cost and quality. And don't forget - there are also many affordable home studio setups that can still produce high-quality recordings.
FAQs
Is home recording suitable for professional use?
Yes, with the right equipment and techniques, home recording can produce high-quality recordings suitable for professional use. It may require more time and effort compared to studio recording but can be a cost-effective option.
How long does it take to record a demo in a studio setting?
The length of time it takes to record a demo in a studio setting varies depending on the complexity and number of tracks. On average, it can take anywhere from one day to several weeks.
Can I mix and master my own recordings at home?
Yes, it's possible to mix and master your own recordings at home with the right equipment and software. However, hiring a professional engineer can often result in a more polished and cohesive final product. So, it is recommended to consult with an expert for the best results.
What is the difference between mixing and mastering?
Mixing involves adjusting individual tracks and elements of a recording to create a balanced and cohesive sound. Mastering focuses on making global adjustments to the overall mix to ensure it sounds polished and professional across all listening platforms. Both are important steps in creating a high-quality demo.
Conclusion
In conclusion, both home recording and studio recording have their advantages and disadvantages when it comes to creating a demo. Home recording allows for flexibility, cost control, and comfort, while studio recording offers access to professional equipment and expertise.
Whichever method you choose, always remember to prioritize sound quality and invest time in the editing and mixing process. And most importantly, have fun and enjoy the creative process of recording your demo! So, don't hesitate to experiment with different techniques and approaches to find what works best for you. With dedication and practice, you can create a professional-quality demo that showcases your talent and potential as an artist or musician.